
Growing Roots Made Easy: Water Propagation
Nothing is more satisfying than seeing a plant cutting sprout roots before your eyes. There are many ways to propagate plants from soil, moss, perlite, etc. But, in this blog we’re just going to focus on how to propagate plants in water.

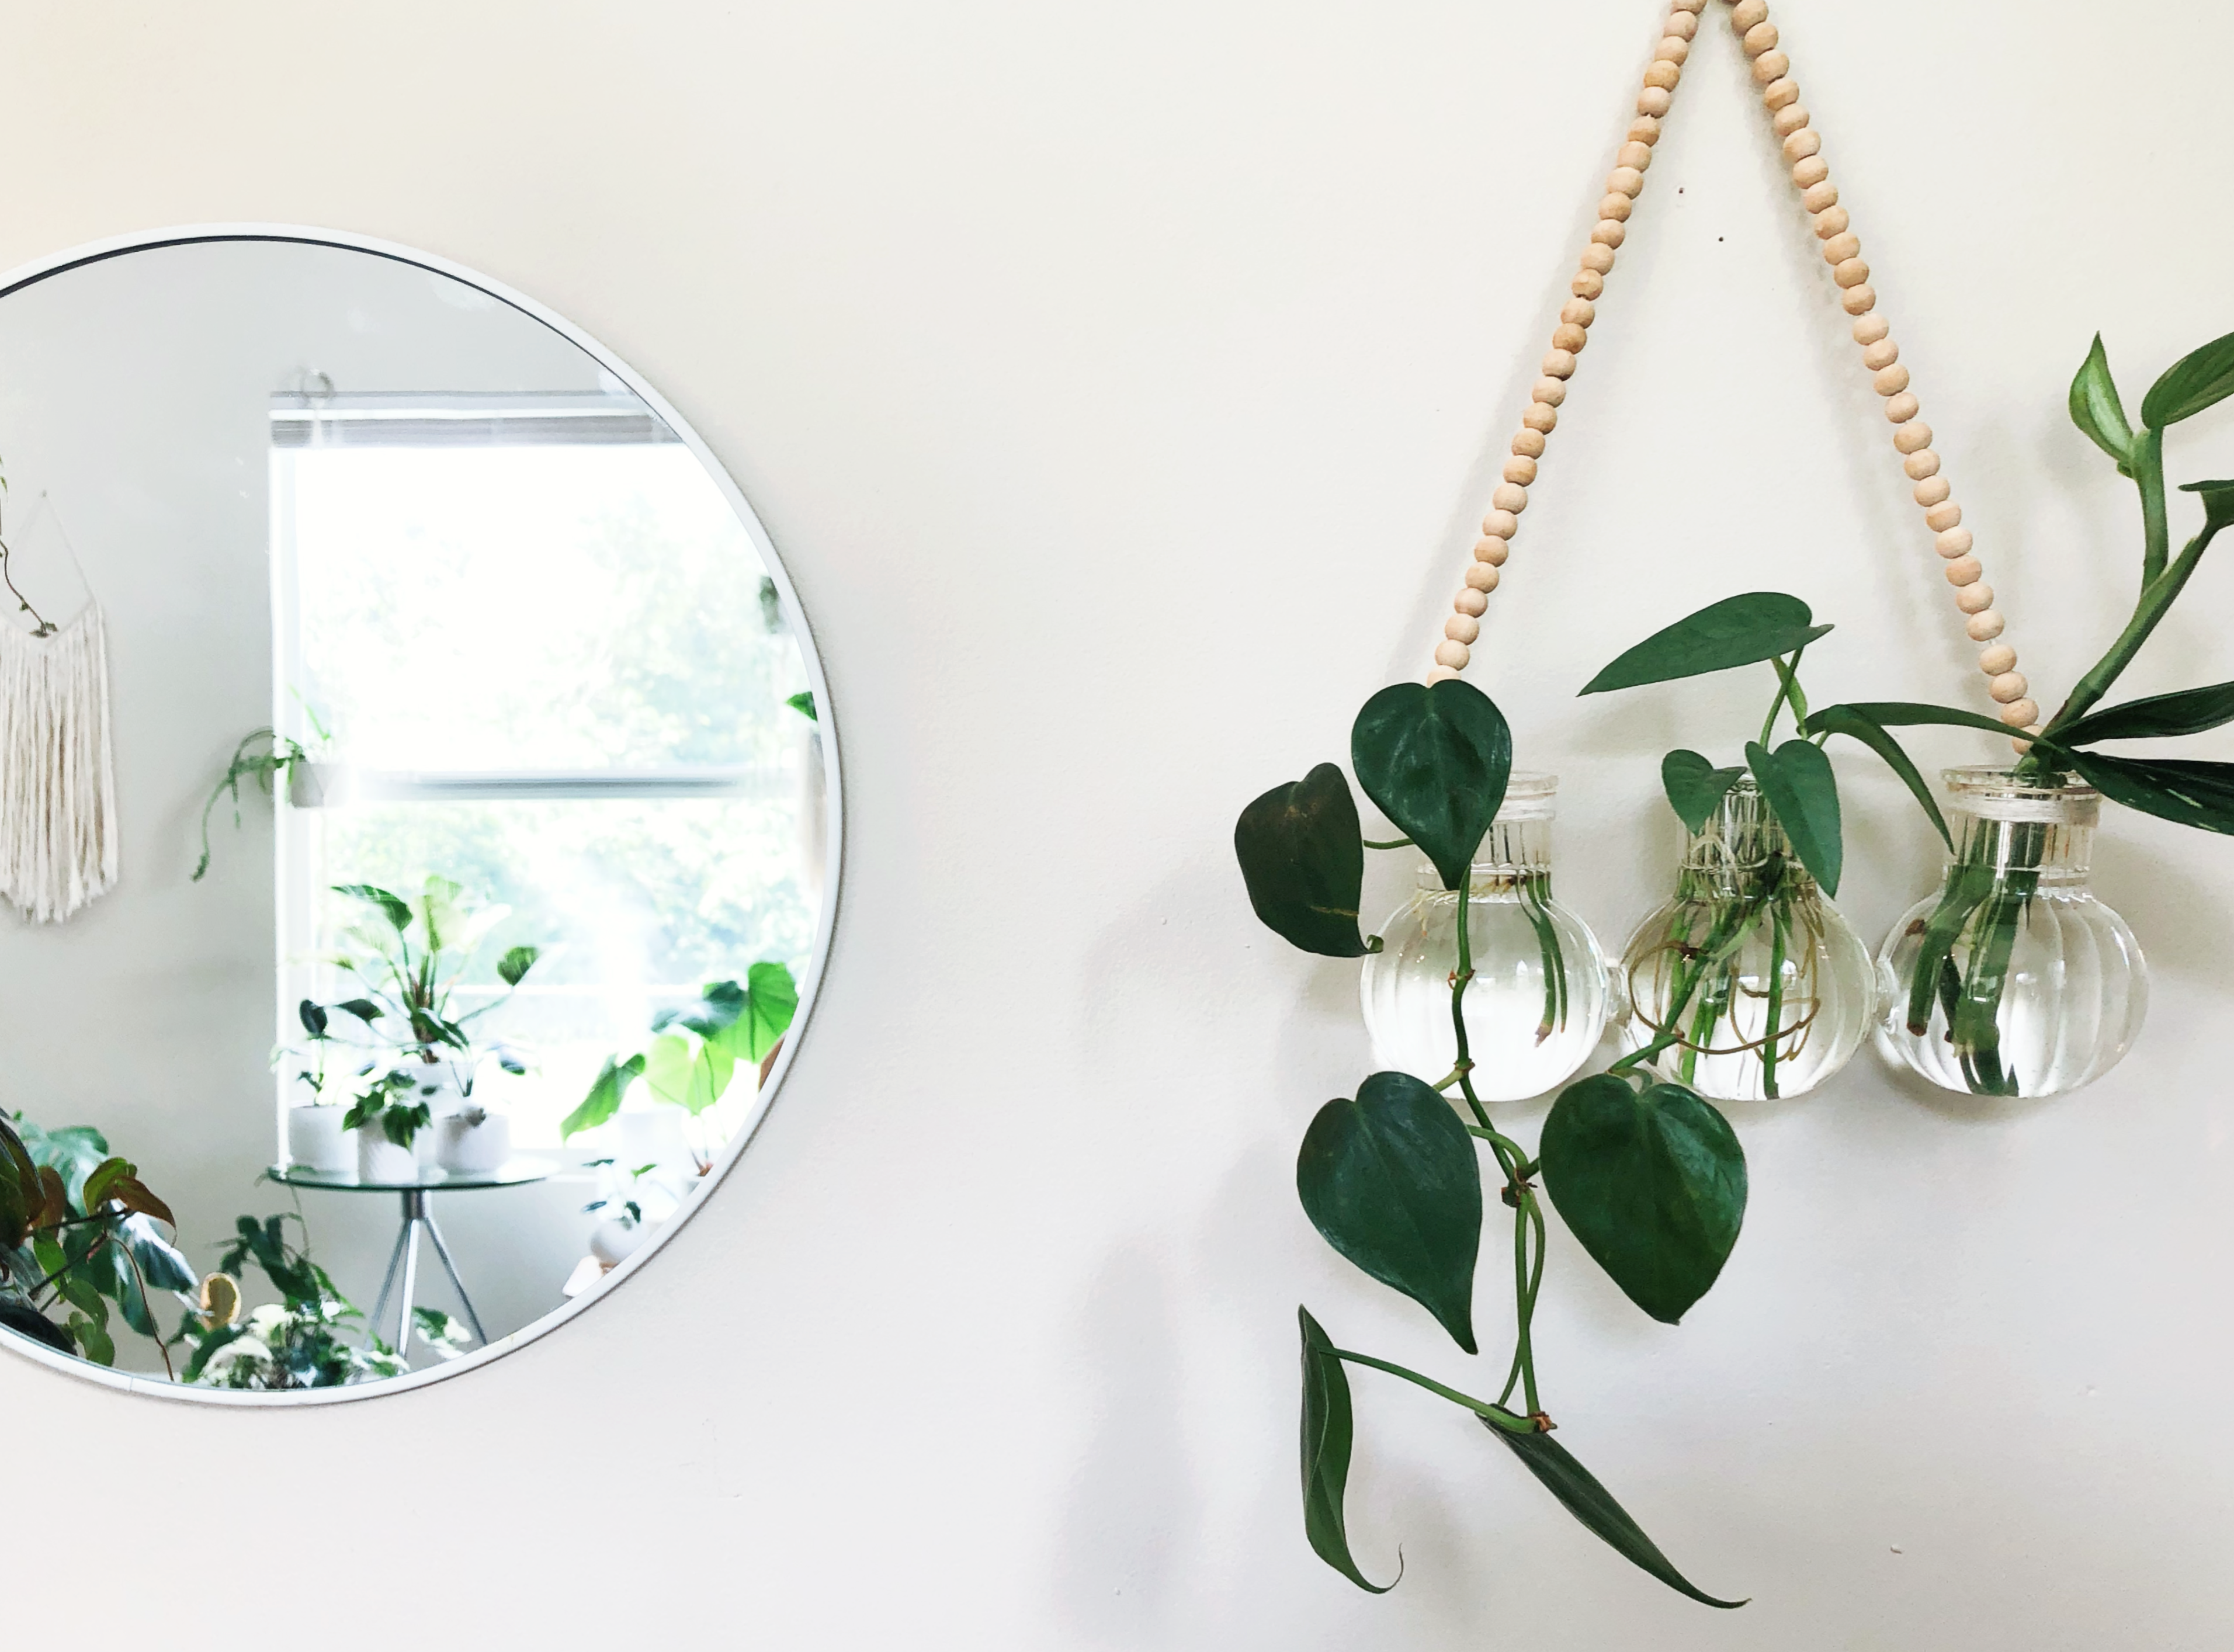
I love to propagate my plants in clear containers, most often being upcycled glass jars or test tubes. Rooting plants in this way is so fool proof and satisfying because you can see your progress. When I propagate any plants with a method I can’t look through, I’m constantly pulling the plant out to see if its rooting or…
Dare I say it – rotting.
Water Propagation also seems to be a plant parent favorite because anyone with water, a jar and a node-y plant can grow roots without having to go to the store and buy special rooting supplies.
Here I’m going to go over how I have been able to propagate plants in water successfully and how you can multiply your home jungle in no time.
Preparing Your Propagation Station: Cleaning & Disinfecting
Whether you’re using glass, ceramic, plastic, or any container for that matter you’ll want to make sure that is disinfected and clean. Even brand-new containers I want to use as a propagation station, I’ll still give them a good rinse.

These propagation stations are available in my Etsy shop! Click here to see the collection.
If I’m reusing a container from a previous propagation or upcycling one, I will do a more thorough cleaning with not only hot soapy water, but with diluted bleach. I typically mix 4 parts water and 1 part bleach. The bleach will kill anything that could harm the plant. Let it sit for about 10-15 mintutes, then wash it out with hot soapy water. Rinse out the container until you can’t smell the bleach, this may take a few rinses.
New containers will get just a quick rinse with hot soapy water.
Making sure your container is clean is super important for your plant cuttings health. This makes sure that no bacteria can get into the soon-to-be rotted plant and cause rotting, or other issues.
Preparing Your Propagation Station: Adding Your Water
Now that your propagation station is nice and clean, it’s time to add your water. This is a very simple task. Just fill up your container, leaving a small gap from the top so once your cutting are added it won’t overflow.
It’s preferred to use filtered room temperature water, but I’ve had no issues with straight room temperature tap water (this will depend on your homes tap water).

When in doubt you can always leave your propagation station uncovered for 24 hours, this can help evaporate any unwanted chemicals in the water, like chlorine or fluoride. This will also make it the perfect temperature as well.
How To Take A Cutting
Your propagation station is now all ready for your plant – let’s find a good cutting!
When taking a cutting, I like to look for a stem with lots of nodes. Nodes are little bumps found on the stem just below a leaf. Those nodes are going to grow and turn into roots.
Looking for an over-grown plant or a plant that might be looking a little leggy or wiry is the ideal plant. If you have a plant that you want to be fuller you can always take a cutting to help fill out a pot.
Make sure the scissors you’re using are sanitized. Give them a good wipe down with some rubbing alcohol.
To create your cutting grab the stem and locate the nodes. Using your sanitized scissors cut 1-2 inches below the nodes. If you’re cutting a long trailing plant, you can either leave it trailing or cut them up into individual cuttings.

Once you’ve made your cuttings, you can leave them out for 24-72+ hours to callous. This will prevent stem rot. I often don’t callous my cuttings, but you’ll run the risk of rotting your cutting if you don’t. If you choose to skip callousing, keep an eye out on your propagation to make sure the stem isn’t turning black or brown.
Watch Your Cutting Grow
Now you can take that cutting and place it in your prepared propagation station, making sure the nodes are completely submerged in the water. Within a few weeks, around 3-4 you’ll start to notice some good root growth.

Make sure you’re cleaning out and replacing the water about once a week. This is to prevent bacteria build up which can lead to root rot. Propagations that sit for too long can also start to mold.
When your cuttings start to root about 1-2 inches out, they’re ready for planting!
Water propagation is so easy. There are a few things to do before you get started, but once you get the hang of how to propagate plants in water – it’s super simple and satisfying.